


DS3231 High Accuracy DIY Digital Dot Matrix LED Alarm Clock Kit with Transparent Case Temperature Date Time Display
-
iPad
$249.00
Features:
Built-in touch key for easy operation.
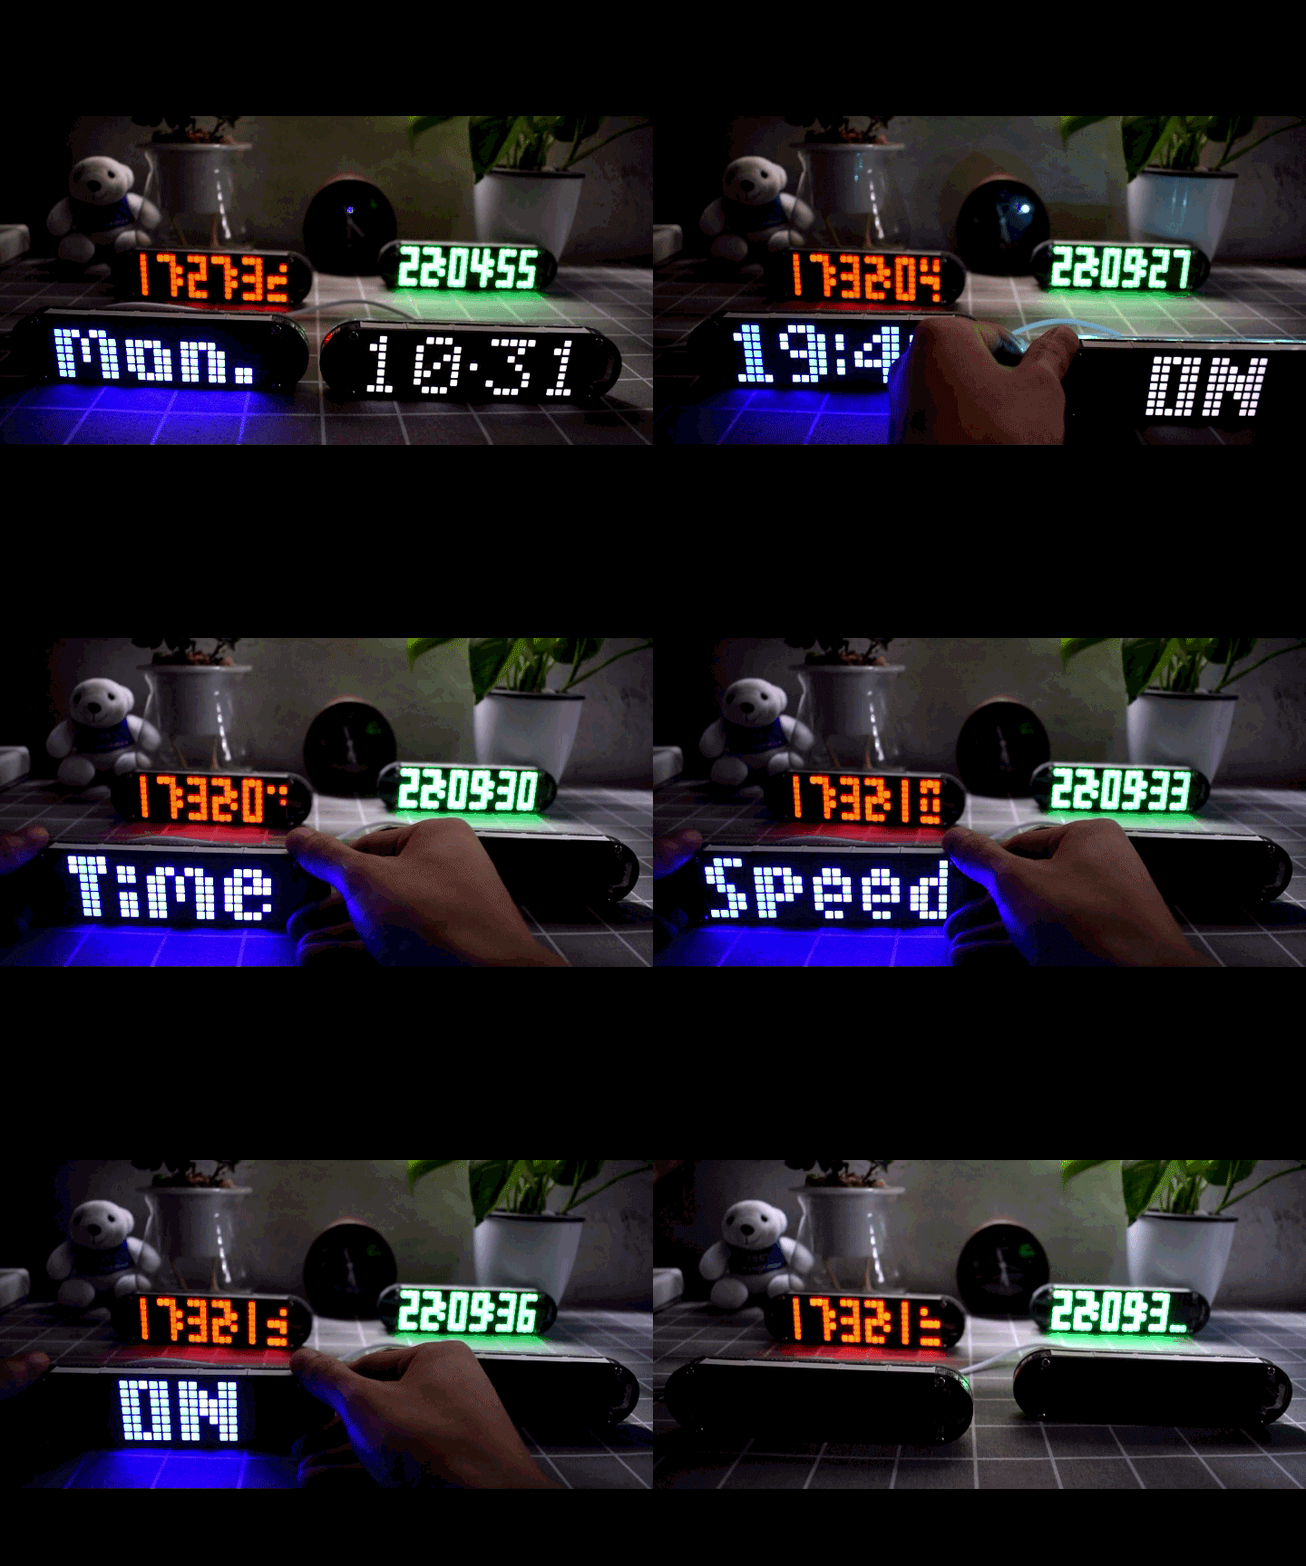
Large LED display to clearly show time, temperature, date, week, etc.
Uses DS3231 high accuracy clock chip(with temperature compensation), it can still accurately travel time after powered by backup battery.
Special dot matrix design, reminding important festivals and alarm clock function.
The font, the time mode, the display effect and the animation effect can be switched freely.
°C/°F selectable for temperature, 12H/24H time display mode.
Can automatically adjust the brightness according to ambient light or specify it.
Includes voice control and countdown function.
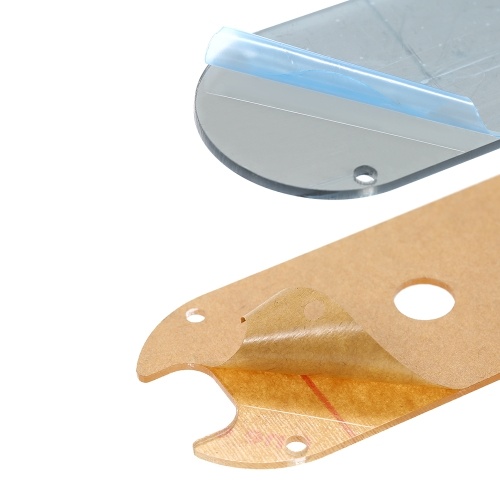
With transparent case, components can be well protected.
With a power cable, it is convenient for clock power supply.
Specifications:
Material: FR4
Display Color: White / Red / Blue / Green(Optional)
Power Supply: USB Interface
Dot Matrix Size(1pc): 2.8 * 4.2cm / 1.10 * 1.65in
Acrylic Board Size(1pc): 16.6 * 4.2cm / 6.54 * 1.65in
Package Size: Approx. 17 * 11 * 3.5cm / 6.69 * 4.33 * 1.38in
Package Weight: Approx. 146g / 5.15oz
Package List:
1 * Digital Alarm Clock Kit
1 * USB Cable





-

G***
10-12-2024I’m very impressed with the performance of this product. It’s efficient, easy to use, and exactly what I needed.
-

W***
08-12-2024It’s a decent product, but I expected more given the price. but a little more innovation would be great.
-

G***
02-12-2024The product is okay, but it could be improved.
-

K***
01-12-2024Nice product, looking forward to other products.
-

F***
30-11-2024Very good product, I like it very much
-

E***
29-11-2024This product has exceeded my expectations in every way. The quality is fantastic, and it does exactly what it promises.
-

X***
29-11-2024The product is decent. It performs well, but there are a few aspects I think could be improved. Overall, it’s a good option for the price.
-

M***
21-11-2024Amazing product! The quality is fantastic, and it has exceeded all of my expectations. Would definitely buy again.
-

I***
08-11-2024This product is exactly what I was looking for. It’s durable, practical, and very easy to use. A great buy!
-

T***
03-11-2024Nice product, looking forward to other products.
-

T***
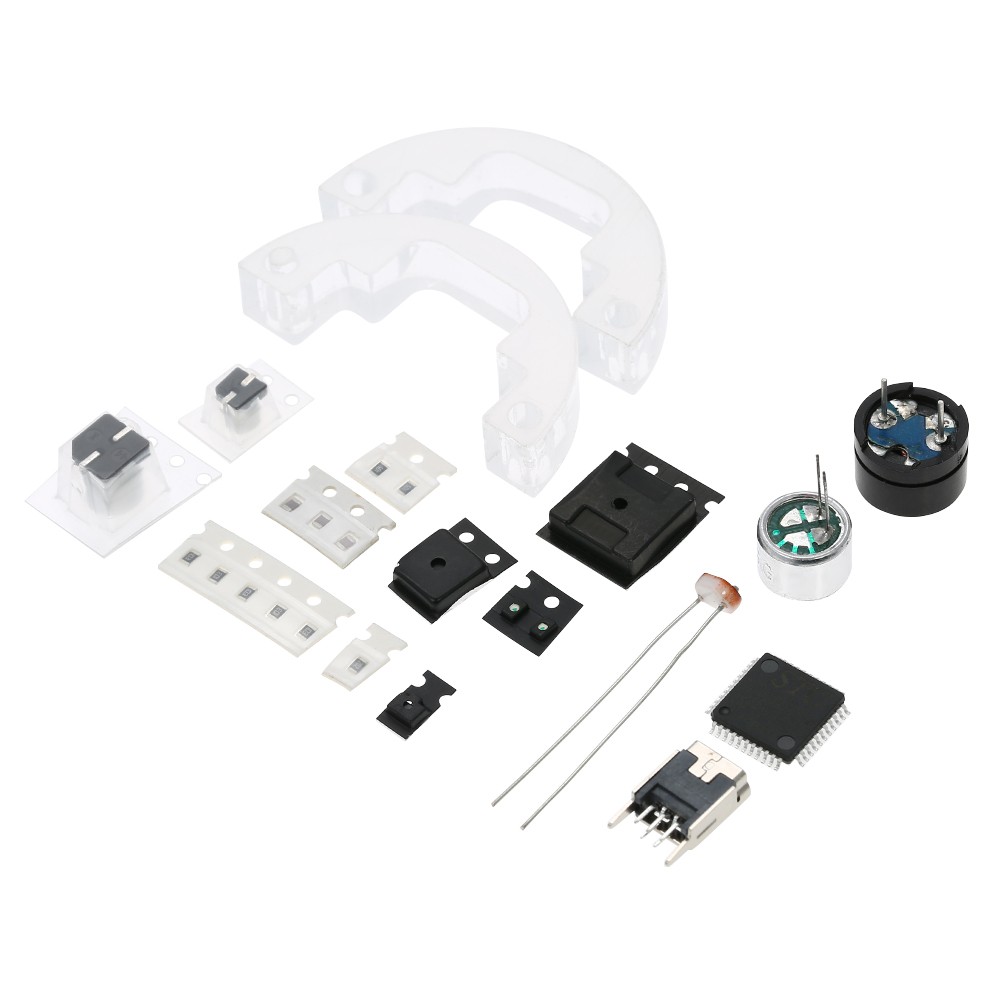
11-03-2020it took some digging around but found the instructions. I like the look of this clock looks cool on the shelf. this kit has some smd components and requires a hot air gun or a conical tip soldering iron I chose to use a soldering iron to assemble the whole clock.
-

Q***
30-03-2019Challenging kit for iron assembly but totally doable with care. After fixing an assembly screw up (my fault) it worked perfectly and actually looks way better than expected. NOT a beginners soldering project, but perfect for someone wanting to try surface mount devices with an iron or similar. ZERO directions included.. haha.. which kind of makes it more fun in a sick way. Resistor placement is super vague and almost impossible to figure out without being a total nerd, so the correct locations are: R1 & R2 = (105) ..... R3, R4, R5, R6, R7 = (103) ..... R8 = (202) ..... C2, C4, C5 = (104 unmarked brown colored), LED1-LED2 ( direction important. look at back of component, see the tiny little arrow head on the back. Square pad is positive and should be back of arrow, and round pad is Negative and should be tip of arrow). The other components make sense with the board markings. With an iron the chip is tricky to solder without bridging pins etc, but check out some yourube vids on diy SMD solering and make sure you have some flux paste and desolding braid on hand. Not hard, but also takes some care. Cool kit at a fair price.


